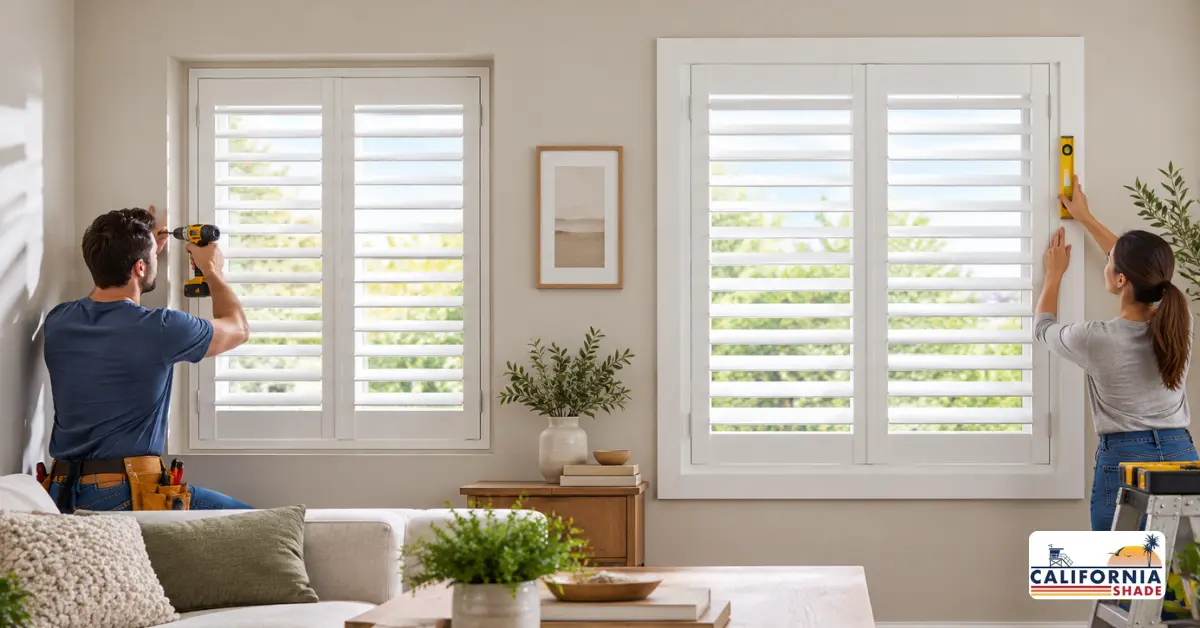
Knowing how to install plantation shutters starts with one question. Does your window support an inside mount, or does it need a frame mount? Orange County homes often have shallow window recesses, older trim, or crank windows. Any of these can rule out an inside mount before you open the toolbox.
This guide walks through both installation methods step by step. It covers the tools you need and the mistakes that trip up most DIY installs. If your windows aren’t a clean fit for either method, California Shade installs plantation shutters throughout Orange County and offers a free in-home consultation to confirm your mount type first.
TL;DR
- Measure your window’s recess depth before you pick a mount type.
- Inside mount fits inside a deep, square window opening.
- Frame mount covers the wall around the window and forgives uneven openings.
- Casement and tilt-in windows usually need frame mount, not inside mount.
- A single window takes about 45 minutes to an hour once your frame is built.
- California Shade installs plantation shutters across Orange County and offers a free in-home consultation.
Frame Mount vs. Inside Mount: Which One Fits Your Window
Your window’s recess depth decides whether you need a frame mount or an inside mount installation. Inside mount shutters sit inside the window opening, flush with the wall. They need at least 1.5 inches of clear space behind the trim. That space runs from the trim to the glass or to the first obstruction. Frame mount shutters attach to the wall around the window instead. They work on shallow, uneven, or out-of-square openings.
That matters more in Orange County than most places. The average single-family home here is 52 years old, according to ATTOM’s real estate data. Decades of settling can leave a window recess slightly out of square. Frame mount covers that unevenness instead of exposing it.
Casement windows, crank-out windows, and windows with tilt-in glass usually rule out an inside mount. The shutter frame blocks the crank handle. It also stops the window from tilting in for cleaning. Frame mount avoids this problem because the frame sits on the wall instead of inside the recess.
Measure your recess depth from the wall edge back to the glass in at least three spots. One measurement often misses corner variance. If the depth and squareness check out, an inside mount will work. If not, go with a frame mount. California Shade confirms mount type during a free on-site measurement for Orange County homeowners who want a second opinion before installing plantation shutters.
Tools You Need for Shutter Installation
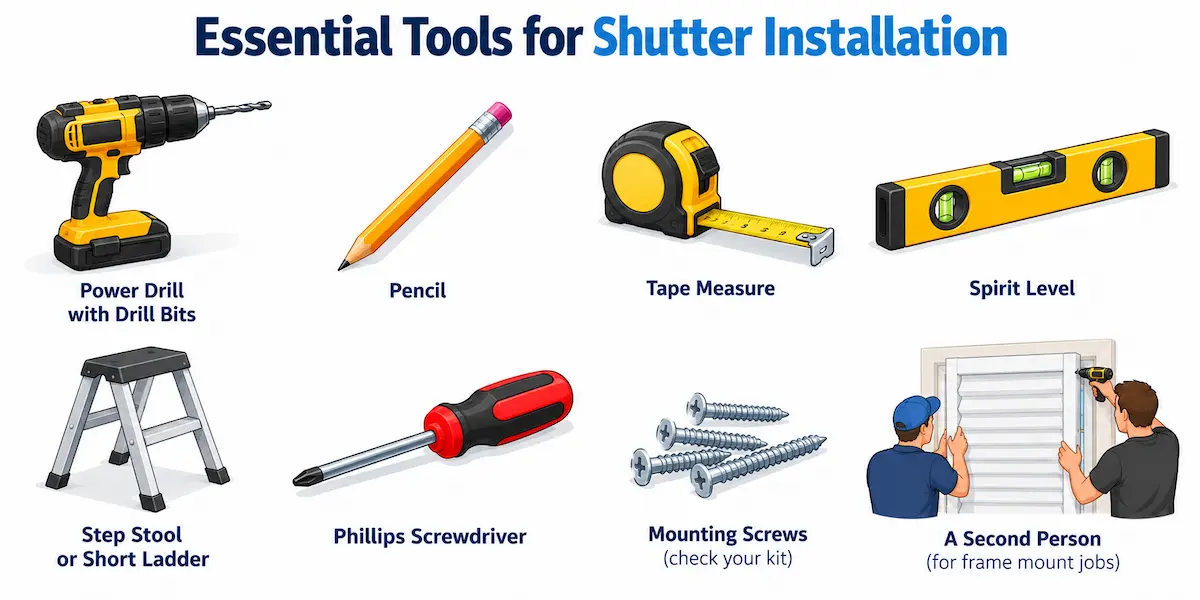
Shutter installation in Orange County takes a handful of basic tools. These are the same tools California Shade’s installers carry on every appointment.
- Power drill with drill bits
- Pencil
- Tape measure
- Spirit level
- Step stool or short ladder
- Phillips screwdriver
- Mounting screws (check your kit; some ship without them)
- A second person for frame mount jobs
A helper makes frame mount installation faster. One person holds the frame level against the wall while the other drives the corner screws. Inside mount jobs are easier to handle alone since the recess holds the frame in place while you work. Gather everything before you start so you’re not stopping mid-install to hunt for a missing screwdriver bit.
Step 1: Measure and Confirm Your Mount Type
Start by measuring your window’s width, height, and recess depth in three spots each. Record the smallest measurement for every dimension. Window openings often narrow slightly toward the corners, especially in older construction. Note any obstructions, including window cranks, alarm sensors, or leftover blind hardware still mounted in the recess. Write every number down before you move to the next window, especially if you’re doing a whole house at once. This step tells you whether to build an inside mount or frame mount installation before you touch a drill. Orange County’s older homes often show more variance window to window, so don’t assume one recess measurement applies to the whole house.
Step 2: Assemble the Shutter Frame
Lay your frame pieces face down on a towel or the original packaging before you join any corners. This keeps the finish from scratching. Match the labeled corners, usually marked L, R, T, and B for left, right, top, and bottom. Join the corners with your kit’s hardware, typically small connector screws through pre-drilled holes. Drill straight through each pilot hole before you lift the frame. A crooked pilot hole causes a misaligned screw once the frame goes on the wall. Keep the frame flat and square while you work so the corners sit true. This is the same prep California Shade’s Orange County installers use on every plantation shutter job, whether it’s one window or a full house.
How to Install Plantation Shutters: Mounting the Frame
Mounting method depends on whether you’re installing inside mount shutters or frame mount shutters, though both start with a level frame.
Installing Inside Mount Shutters
Center the frame inside the window recess. Check it with a level before you drive a single screw. Secure the top corners first, then the top center, through the pre-drilled holes. Check the sides for square, then finish the remaining screws. Run a bead of caulk along any seam where frame sections meet to close small gaps.
Installing Frame Mount Shutters
Position the frame around the window opening so it covers the trim or wall space where the shutters will sit. Level the frame, then secure the corners first. Add two to four screws along each side. Frame mount forgives an uneven Orange County wall better than inside mount. The frame covers the gap instead of fitting into it.
Step 4: Attach the Shutter Panels and Hardware
Hang each panel by aligning its hinges with the frame. Drop the top pin in first, then ease the bottom pin into place once the top pin sits fully seated. Attach the strike plate to the panel about half an inch from the inner edge of the stile. Screw the matching catch into the frame at the same height. Close the panel to test the fit before you tighten the final screws. Check that the louvers close in the up position. A panel with louvers that close in the down position is upside down and needs to come back off. California Shade’s Orange County crew checks every panel this way before calling a job finished.
Common Plantation Shutter Installation Mistakes
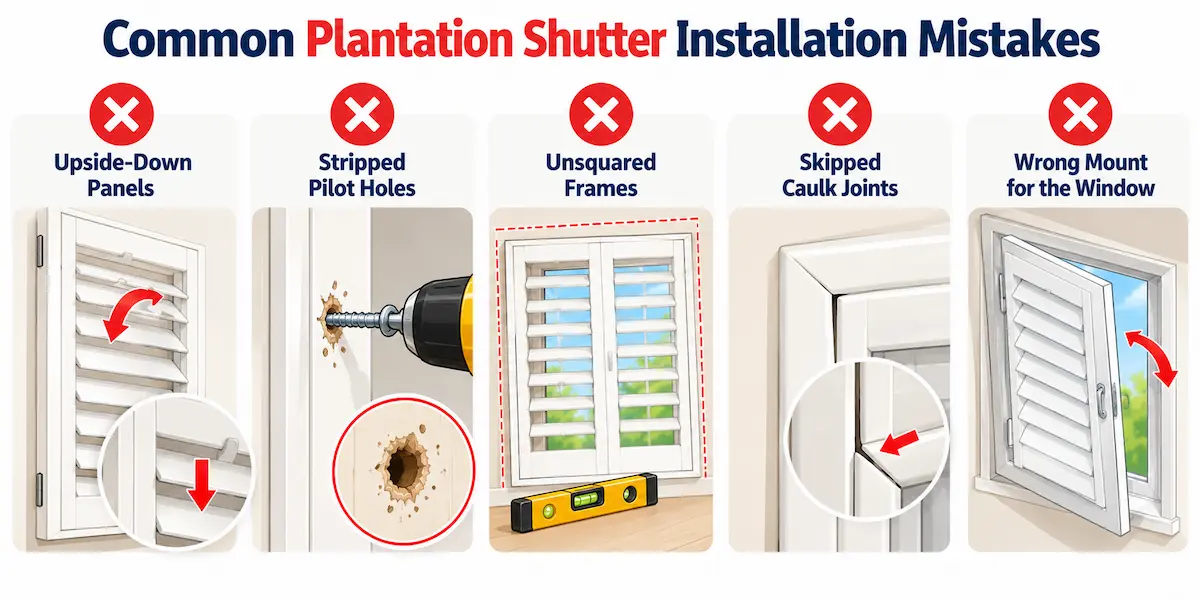
Most installation problems trace back to five issues. Catching them early saves a second trip to the hardware store.
- Upside-down panels: louvers close in the down position instead of up
- Stripped pilot holes: repeated drilling wears out a pre-drilled hole, so drive screws straight the first time
- Unsquared frames: a frame installed slightly off level throws off panel alignment for good
- Skipped caulk joints: gaps at L-frame seams let in drafts and light around the edges
- Forcing an inside mount on a disqualified window: casement and tilt-in windows need frame mount, not inside mount
California Shade sees these mistakes most often on older Orange County homes, where walls have shifted enough over the decades to throw off a DIY measurement.
Installing Motorized Plantation Shutters
Motorized plantation shutters add a wiring step that most DIY installs skip. Battery-powered motors avoid rewiring. They still need a charging or battery-swap routine built into your maintenance plan. Hardwired motors need a nearby outlet or a licensed electrician to run power to the window. Most homeowners hand this part to a professional installer. A miswired motor can void the shutter’s warranty. California Shade installs both manual and motorized plantation shutters across Orange County and can wire the motor during your appointment.
How to Install Plantation Shutters: DIY vs. Professional in Orange County
DIY installation works well for a single window with a deep, square recess and no wiring involved. A whole-house job, an older home with uneven walls, or a window disqualified from inside mount is where professional installation earns its cost. Orange County’s coastal humidity swells wood shutters over time. That swelling can throw off a DIY frame that wasn’t shimmed correctly at install.
California Shade handles plantation shutter installs throughout Orange County and backs every job with a warranty a DIY project won’t carry. Call (714) 502-5501 for a no-cost home visit, check plantation shutters pricing for budget planning, or browse our full line of shutters and window treatments online.
Frequently Asked Questions
How Long Does It Take to Install Plantation Shutters?
A single window takes about 45 minutes to an hour once the frame is assembled. A whole-house job with several windows usually takes a full day.
Can I Install Plantation Shutters Myself?
Yes, for a single window with a deep, square recess and no wiring. Multi-window jobs, motorized shutters, and out-of-square older homes are better suited to a professional install.
What’s the Difference Between Inside Mount and Frame Mount Shutters?
Inside mount fits inside the window recess and needs at least 1.5 inches of clear depth. Frame mount attaches around the window on the wall and works on shallow or uneven openings.
Do Plantation Shutters Need a Professional Installer?
Not always. Single-window DIY installs are common. Motorized shutters, casement windows, and older Orange County homes with uneven walls usually need a professional.
What Tools Do I Need to Install Plantation Shutters?
A power drill, drill bits, a level, a tape measure, a screwdriver, and mounting screws. A second person helps for frame mount jobs.
Now you know how to install plantation shutters the right way, from measuring the recess to hanging the last panel. If you’d rather skip the DIY step, California Shade’s Orange County crew handles the whole job and backs it with a real warranty. Call (714) 502-5501 for a free consultation.